
Ultralight aircraft airframe troubleshooting
The advantage that an ultralight has over the human body is it consists of replaceable parts. The disadvantage is that when you are buying it, the seller may stretch the truth a little by forgetting to mention that the little old lady that flew it "only to church on Sundays," was 200 miles from that church.
That the only field she had to land on was plowed, and that several time on take-off she clipped the top off several trees. Since ultralights do not require engine or airframe logs, it is very hard to disprove the actual hours of use an ultralight has on it.
When negotiating the price of a car, you would take tire wear, paint and interior condition, dents, rust, etc. into consideration. You should do the same when buying an ultralight. Let's look at these areas in a more detailed way.
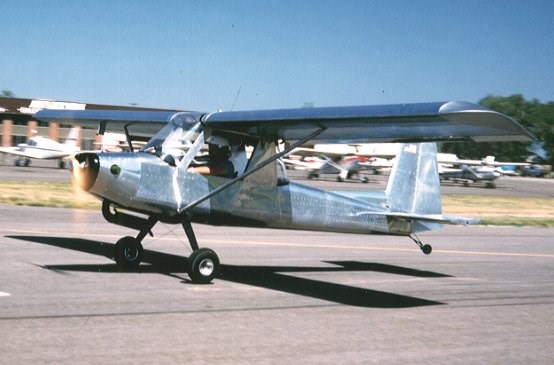
Ultralight Aircraft Airframe:
This is really the main frame of your aircraft sort of like your skeleton minus feet, arms, hands. Connected to it is the landing gear (feet) and wings (arms). All the control systems (muscles, nerves) usually run along or inside it.
While many other parts are replaceable, you are not likely to replace the fuselage. For this reason it is important to check it for signs of wear. Wear will be most evident in areas of the fuselage that connect to the landing gear, or a moving part like the steerable nose wheel, or engine attachment points.
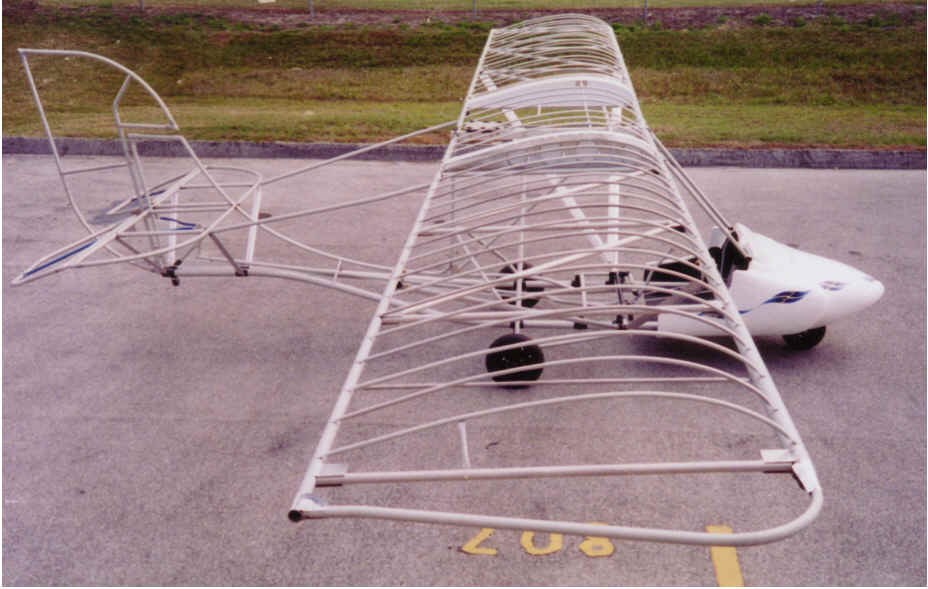
Look for bent or cracked tubing , tubing with elongated holes , tubing worn from metal on metal contact . If your aircraft is riveted together examine the rivets at areas of the craft that might flex, or is subject to vibration .
Ultralight Aircraft Airframe:
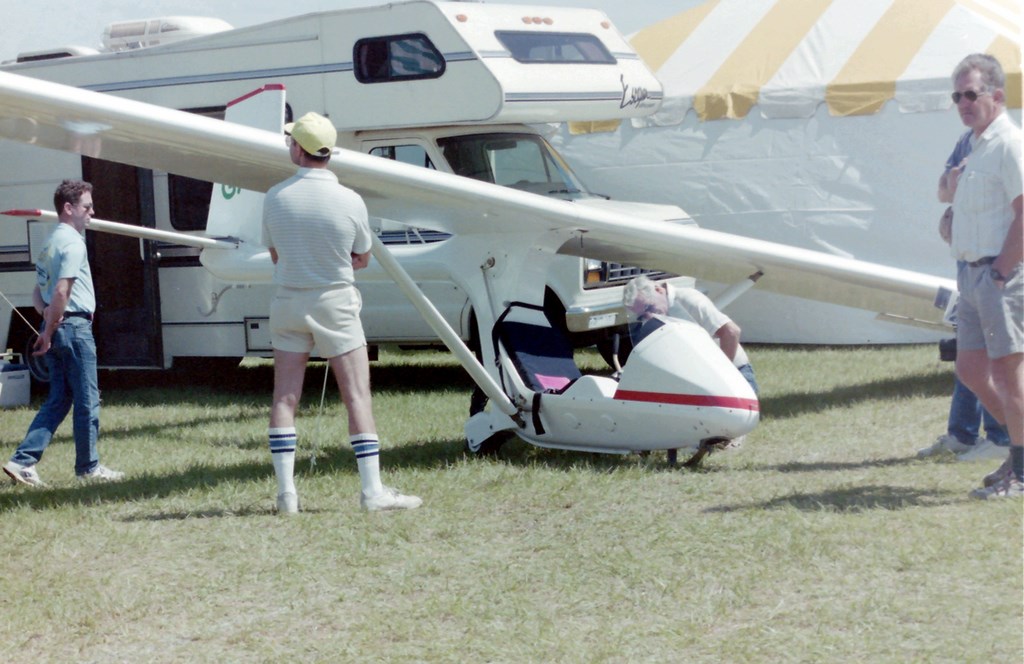
If you are buying an aircraft that features an enclosed cockpit look very carefully on the floor of the enclosure, under the seat or gas tank, (this is an area that is difficult to clean) for signs of rivet heads. This could indicate recent repair or a hard landing.
Check the area where the landing gear passes through the fuselage for cracking or damage. Check the area of the fuselage where the rudder attaches to the vertical fin for cracks . Check the area where the pilot's enclosure or hull contacts the airframe for wear . Check nuts and bolts for bending .
Many older designs used pit pins. These are no longer used! These corrode, are weaker than an AN nut and bolt, resulting in failure under load . If the aircraft you are looking has pit pins you should deduct the cost of replacing them with AN nuts and bolts from the cost of the plane.
Parts COST money - especially aircraft parts!
Check the engine mount for cracks.
Check the rubber mounts for cracks, failure, or UV deterioration .
Check plastic saddles for signs of failure
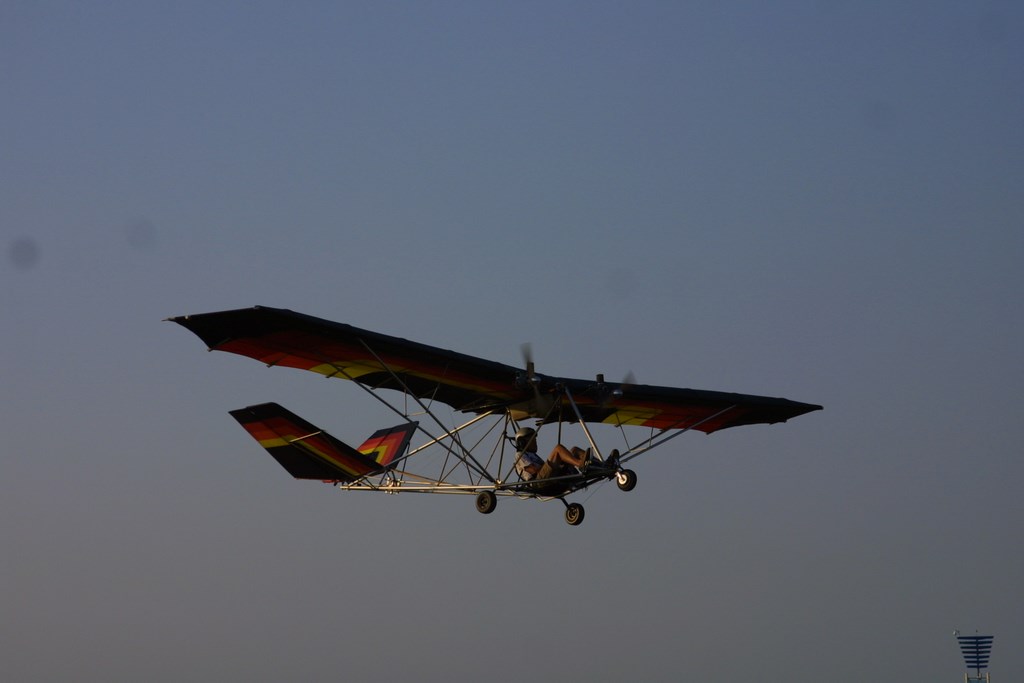
Check bolts securing struts to wing on early model wire braced aircraft for failure of the securing bolts.
Check cable ends for signs of stretching .
Check all cables where they may contact metal for fraying .
Approximate cost of replacement parts.
AN bolts $ .25 - $7.00 (each)
AN nuts $ .40
Lord mounts A $ 3.00
Lord mounts B $ 8.15
Lord mounts C $ 8.75
Engine mount $ 75. - $ 500.
Plastic saddles $ 1.- $ 2.
Wing bolt update kit $ 79. - $ 99.
http://www.ultralightnews.com - A series of Rotax 377 advisories, Rotax 447 advisories, Rotax 503 advisories, Rotax 582 advisories, Ivoprop advisory, GSC propeller advisory. Subscribe to our You Tube Channel or better yet purchase a subscription to our The Ultralight Flyer web video magazine at http://www.ultralightflyer.com