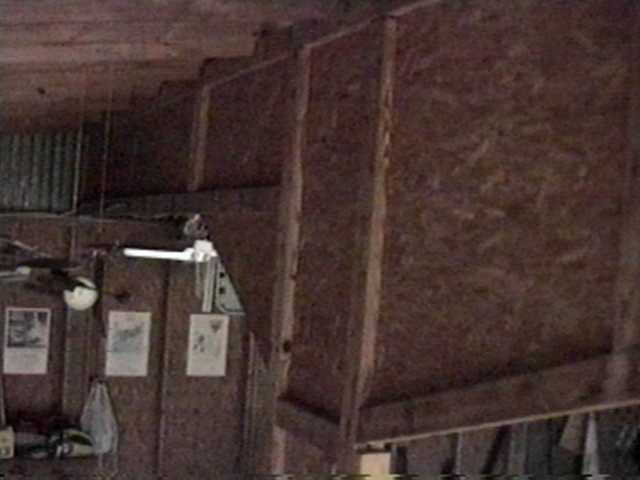
| Within this framework, nail 2"x4"s vertically every 2'. Position them where the 4'x8' chipboard panels overlap, and in the middle of the panels for support. The
chipboard panels should completely overlap the outside of the
4"x4"s. Do not cement the 4"x4"s into the ground until
the hangar walls are finished, and everything is nailed in position and
squared up. Then cement them in, and let it harden before you start to put
the roof on.
At the same time, pour some footers for the trusses to stand
on; make the trusses and cut the roof beams while you are waiting on
the concrete to cure.
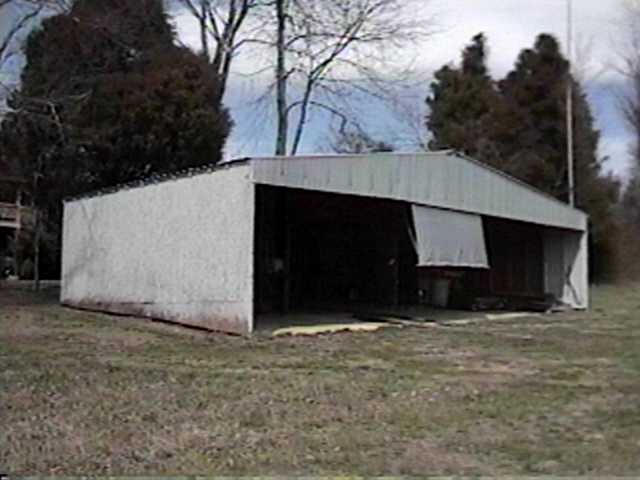
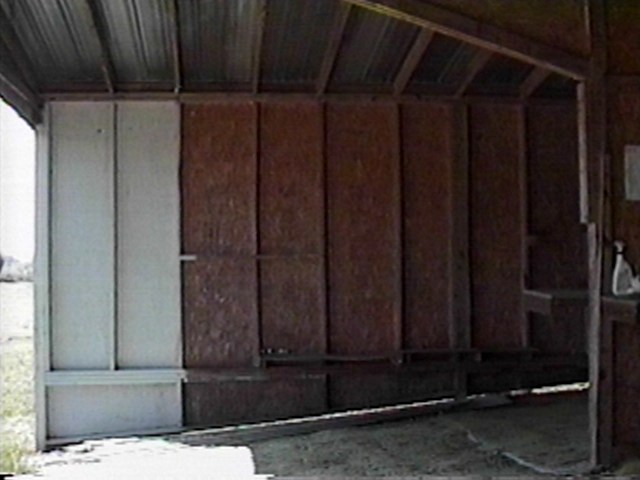
The hangar width was determined by the length of
the roofing panels, 18' was the maximum length of the heavy gauge
Strongpanel sections I chose, so the rear wall was sized to allow the
panels to reach almost to the peak, and still stick out 2" over the
eaves.
The peak is covered by a standard pre-bent cap.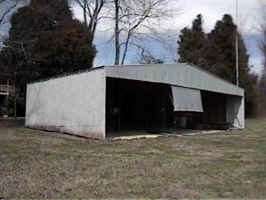
The two
outside rear wall sections are 137" wide x 96" high.
The center section is 139" wide x 96" high, and is built and
hung just like the side walls. If you cut out a door section in the back
wall, do not cut through the two bottom 2"x4"s, just plan to
step over them...
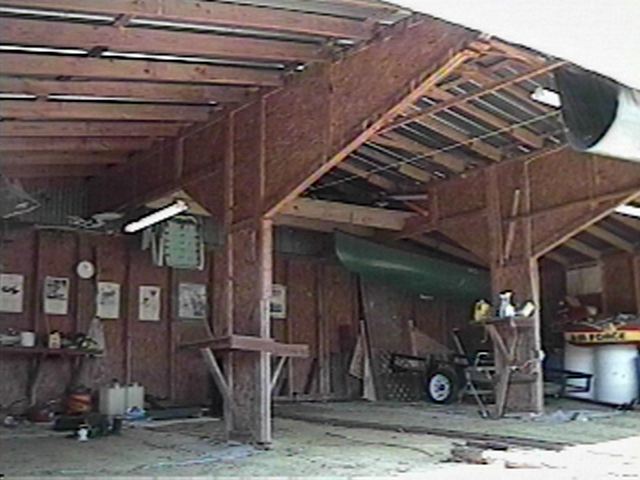
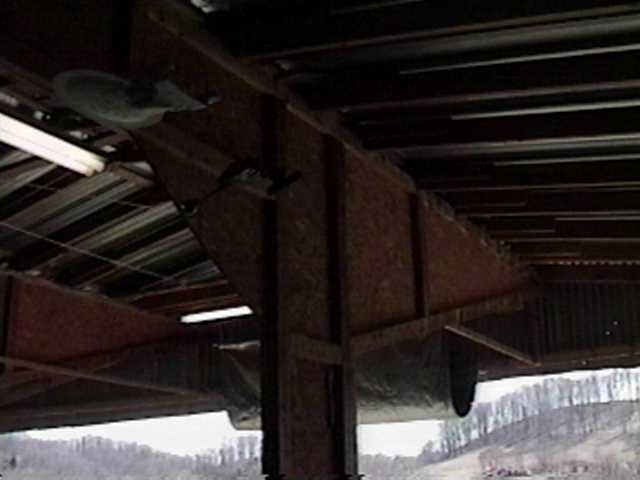
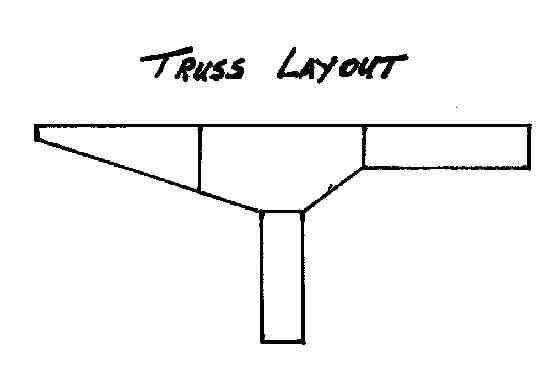
The heart of the hangar is the two cantilever
trusses, which are very simple, and are similar to built-up wing spars,
because they sandwich sections of chipboard between 2"x4"s to
make a very strong structure. The bottom portion is 24" wide and
75" tall. Resting on top of this is the center of the truss, which is
a 4'x8' sheet, with two lower corner triangles cut away.
To cut away the
rear lower corner, starting at the corner, measure out 3', and up 2', draw
a diagonal line, and cut that triangle off. To cut off the front
lower triangle, starting at the corner, measure out 3', and up 1', draw a
diagonal line, and cut that triangle off.
To make the rear end of the
trusses, cut a 4'x8' sheet of chipboard down the middle, making two 2'x8'
sheets. To make the front end of the trusses, cut a 4'x8' sheet on
the diagonal, so that you have two "almost triangles" that
measure 8' on the top side, 3' on the rear side, (the side that butts up
to the middle section of the truss), and instead of coming to a point at
the front of the triangle, you want 8" of vertical depth. Look at the
pictures, it will be obvious. Now box the whole thing in with
2"x4"s on both sides, just like in the pictures, and think ahead
about how you accommodate splicing the 2"x4"s.
Think about
where all the stress lies, and make the 2"x4"s that go up the
lower leg continuous to the top of the truss, have them stop just at the
top horizontal 2"x4"s. Likewise also the 2"x4"s that
run out the front, keep as long as possible to where they tie into the
rear portion . Avoid splicings that are the same on both sides,
stagger the splices.
You will use one sheet of material for two
vertical legs, one sheet for both truss rears, one sheet for both truss
fronts, and two sheets for the truss centers. You will need 26 sheets of
chipboard total for the hangar.
The distance from the front side of the
truss leg to the front of the hangar overhang is 11', this should
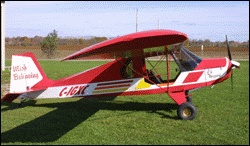
accommodate most light planes.
The nose of my Kolb MKIII pokes right up to
the drip line, so I have a heavy tarp that is attached up and inside the
front eave, and is tied down and out to keep water off the nose.
Get
several helpers to set the trusses up, anchor them securely to the rear
wall at the 4"x4", and brace them so they won't lean while you
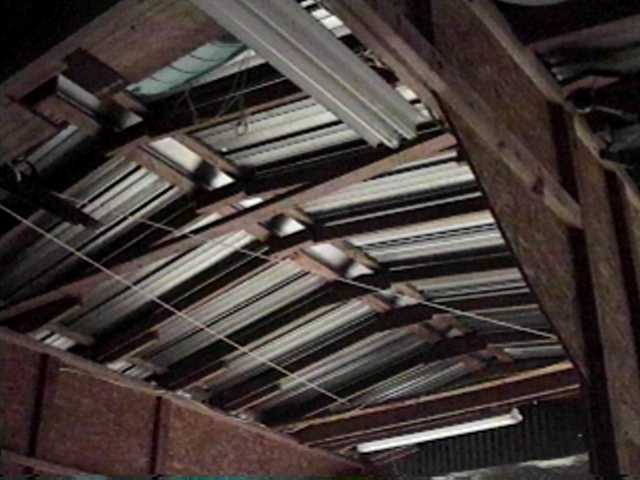
set the roof beams. Start from the back and work out as you nail the beams
from the walls to the trusses. I made the beams from 2"x6"s ,
from the walls to the trusses, and the center sections of the beams were
2"x4"s from the trusses to the peak.
Sheet metal roofing of
your choice, corrugated barn tin was too light for me. I used Strongpanel,
it cost as much as everything else combined, but I can walk on the roof.
Use light stuff for the front and rear eaves. I did not use gutters, I
wish I had. The splash from the run off is deteriorating the lower edge of
the chipboard. The lower edge of the walls stops about 2" above the
dirt, this allows the air to circulate, and keeps moisture from collecting
even during long humid spells. The leaves blow under and in, but leaves
don't corrode the airplane...
The floor is covered with sheet
plastic, and then covered with used carpet. Find someone that is re
carpeting, and get the sections intact, if possible.
The outer front
walls will tend to flex unless they are triangulated. Cement a length of
steel rod in the ground about 1' out from the corner, and run some flying
wire from there up to the top corner of the wall, turnbuckle it snug,
stops the flex.
The roof doesn't have too much pitch, Tennessee
never has more than 24" of snow at a time, and I can clean it off
faster than it comes down most of the time. The roof may need more pitch
farther North. I have a couple posts sized to brace up under the front of
the trusses whenever I am expecting heavy snow anyway.
The Hangar
Courtesy of Richard Pike
rpike@preferred.com
|